Last Updated on
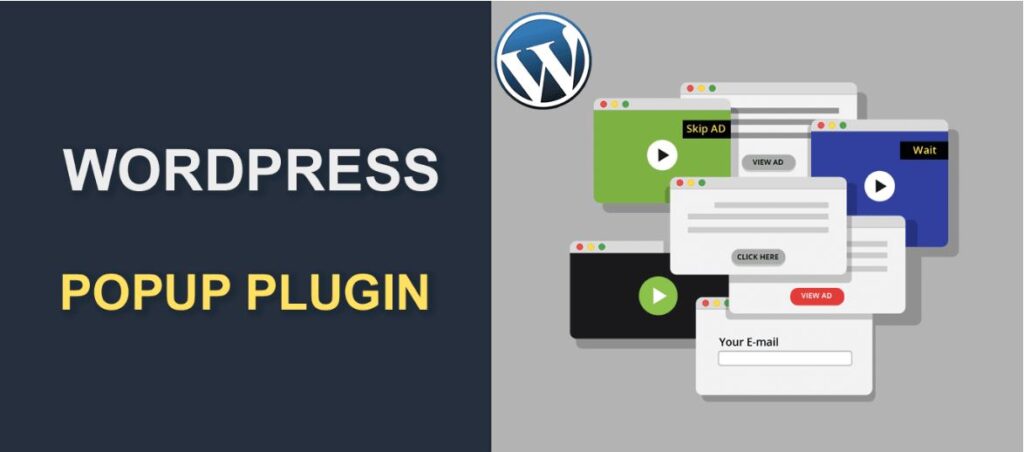
WordPress continues to dominate the world of website building, and in this rapidly evolving digital landscape, popup plugins are more integral than ever before. These powerful tools are vital for enhancing user experience, increasing conversions, and fostering engagement. So, let’s dive in and uncover the ultimate selection of WordPress popup plugins for 2024!
Unveiling OptinMonster: WordPress Popup Plugins
Regarding WordPress popup plugins, OptinMonster consistently carves its name in gold. This plugin is a conversion optimization powerhouse outfitted with standout features such as Exit-Intent® Technology. This ingenious tool can track and react to your user’s behavior, triggering tailored popups as they’re about to abandon a page.
OptinMonster’s arsenal includes campaign types like fullscreen welcome mats, floating bars, and lightbox popups. Customizable templates simplify the design process, while seamless integration with all major email marketing platforms makes subscriber management a breeze.
Elementor Pro: The Versatile Choice
As a towering figure in the WordPress community, Elementor Pro’s built-in Popup Builder is a robust tool you can’t overlook. This unique feature lets you create and fine-tune popups directly within your website’s design environment.
The Popup Builder supports multiple trigger types and display conditions. With Elementor Pro’s extensive widget library, this functionality ensures your popups are practical and visually cohesive with the rest of your site.
Bloom by Elegant Themes: Transforming Visitors Into Loyal Followers
Bloom is another heavyweight contender in our lineup. An offering from the renowned Elegant Themes, Bloom excels at transforming casual visitors into engaged followers and customers. This WordPress plugin supports automatic opt-in popups, widget area opt-ins, and fly-in forms.
Bloom boasts an impressive roster of 100+ templates, six display types, and granular targeting controls. Also, its 16 email marketing integrations ensure compatibility with your existing tech stack.
Ninja Popups: Unleashing the Power of Popups with Affordability
If you’re budget-conscious but refuse to compromise on quality, Ninja Popups is your go-to option. Despite its lower price point, this plugin doesn’t skimp on features. It provides a drag-and-drop builder, animation effects, and A/B testing capabilities.
Ninja Popups’ standout feature is its extensive library of pre-designed themes. Moreover, its four customer support channels – email, video tutorials, a support forum, and online documentation – ensure you’re never left in the dark.
Thrive Leads: The List-Building Solution
Designed as a comprehensive list-building solution, Thrive Leads goes beyond conventional popup functionality. Besides offering numerous form types, the plugin incorporates advanced features such as SmartLinks and asset delivery mechanisms.
Thrive Leads’ analytics module enables you to track and analyze your popups’ performance, paving the way for data-driven improvements. Furthermore, it integrates seamlessly with most CRM and email marketing platforms.
Sumo: Simplicity and Efficiency in One Package
A mention of top-tier WordPress popup plugins would be incomplete without Sumo. With its user-friendly interface and comprehensive features, Sumo offers a hassle-free way to grow your email list and boost conversions.
Sumo’s ‘List Builder’ tool features smart display rules, which tailor your popups based on user behavior and traffic sources. Its Heat Map tool allows you to visualize user interaction on your website, offering insights to tweak your popups for better results.
Poptin: Converting Browsers into Buyers
Rounding off our list is Poptin, a robust plugin that employs advanced technology to convert your website’s visitors into leads, subscribers, and sales. With features like exit-intent triggers, drag-and-drop builder, and advanced targeting rules, Poptin stands tall among the competition.
Poptin offers A/B testing capabilities and real-time analytics, equipping you with the necessary tools to refine and enhance your popups continuously.
Concluding Remarks: Choosing the Right WordPress Popup Plugin
In a world where competition is fierce, and user attention is scarce, popup plugins offer a unique edge. The right WordPress popup plugin can redefine your user engagement strategy, amplifying conversions, and user retention. By examining each plugin’s features, compatibility, and pricing, you can make an informed decision that aligns with your website’s needs and objectives.
Harness the power of these WordPress popup plugins, and take the digital world by storm! Discover their features, try them out, and experience their impact first-hand. Website success is a continuous journey; the right tools can make all the difference!
FAQs
How do I add a popup plugin to WordPress?
To add a popup plugin to your WordPress website, you’ll need to follow these general steps:
- Choose a Popup Plugin: Select a popup plugin that suits your needs. There are various popup plugins available in the WordPress plugin repository, such as “Popup Maker,” “OptinMonster,” “Sumo,” “Popup Builder,” and more. Pick the one that offers the features you want and is well-reviewed.
- Install the Plugin: Once you’ve chosen a popup plugin, log in to your WordPress dashboard. Go to “Plugins” > “Add New.” In the search bar, type the name of the popup plugin you’ve selected. When you find the plugin in the search results, click “Install Now,” and click “Activate” to activate the plugin.
- Configure Plugin Settings: After activating the plugin, you’ll likely find a new menu item in your WordPress dashboard dedicated to the popup plugin you installed. Click on this menu item to access the plugin’s settings and configuration options.
- Create a New Popup: You’ll find options to create a new popup in the plugin’s settings. You can choose from various popup types, such as exit-intent, timed, click-triggered, and more. Select the type of popup you want to create.
- Design and Customize the Popup: Depending on the plugin, you may be able to use a visual builder to design the popup or use pre-made templates. Customize the popup’s appearance, text, images, and other elements according to your preferences.
- Set Display Rules: Determine when and where the popup should appear on your website. You can specify display rules based on time delay, exit intent, scroll percentage, specific pages, or posts.
- Save and Publish: Once you’ve configured the popup settings, save your changes, and publish the popup. It should now be active on your website and displayed according to your rules.
- Test the Popup: Before fully launching it, ensure it works as intended and appears correctly on various devices and browsers.
Remember that popups can be intrusive if overused, so use them judiciously and consider the user experience. Some users may find excessive popups annoying, leading them to leave your website. Always provide valuable and relevant content in your popups to encourage users to engage with them positively.
How do I create a popup in WordPress for free?
You can use the “Popup Maker” plugin to create a popup in WordPress for free. This plugin allows you to design and display various popups on your website without cost. Here’s a step-by-step guide to creating a popup using the “Popup Maker” plugin:
- Install and Activate the Plugin:
- Log in to your WordPress dashboard.
- Go to “Plugins” > “Add New.”
- Search for “Popup Maker” in the search bar.
- Click “Install Now” next to the “Popup Maker” plugin.
- After installation, click “Activate” to activate the plugin on your website.
- Configure General Settings:
- Once the plugin is activated, you’ll find a new “Popup Maker” menu item in your WordPress dashboard.
- Click on “Popup Maker” to access the plugin’s settings.
- In the “General Settings” tab, configure basic options like the default close button behavior, cookie settings, and CSS defaults. You can leave the default settings or customize them as needed.
- Create a New Popup:
- After configuring the general settings, go to “Popup Maker” > “Add Popup” to create a new popup.
- Give your popup a name and choose a content type for your popup (HTML, shortcode, or visual).
- For a simple text-based popup, the “HTML” option should suffice.
- Design and Customize the Popup:
- In the “Content” tab of the popup editor, you can design and customize your popup content using the HTML editor.
- Add your text, images, links, or any other content you want to display in the popup.
- Set Display Conditions:
- In the “Display Conditions” tab, you can specify when and where the popup should appear.
- You can set rules based on time delay, exit intent, scroll percentage, specific pages, or posts.
- Configure Popup Triggers:
- In the “Triggers” tab, you can define how the popup will be triggered to appear to your visitors.
- Choose from click triggers, timed delays, scroll triggers, and more.
- Save and Publish the Popup:
- Once you’ve designed and configured the popup to your liking, click the “Save” button to save your changes.
- To publish the popup, toggle the “Status” button to “Live.”
- Test the Popup:
- Before making the popup fully live, test it on your website to ensure it works as intended.
Once you’ve completed these steps, the popup you created using the “Popup Maker” plugin will appear according to the display conditions and triggers you’ve set. Remember to review the performance and user engagement of the popup regularly to ensure it meets your objectives and enhances the user experience on your website.